This example shows how to connect a joystick to your Arduino. This could be used for games or perhaps navigating through a menu for example.
This is a basic analog 2-axis joystick which has two 10K ohm pots for vertical and horizontal direction and a push button function.
Here is a picture of the joystick I am using, this is commonly found for sale on many sites. Usually part of a sensor kit, links at the bottom
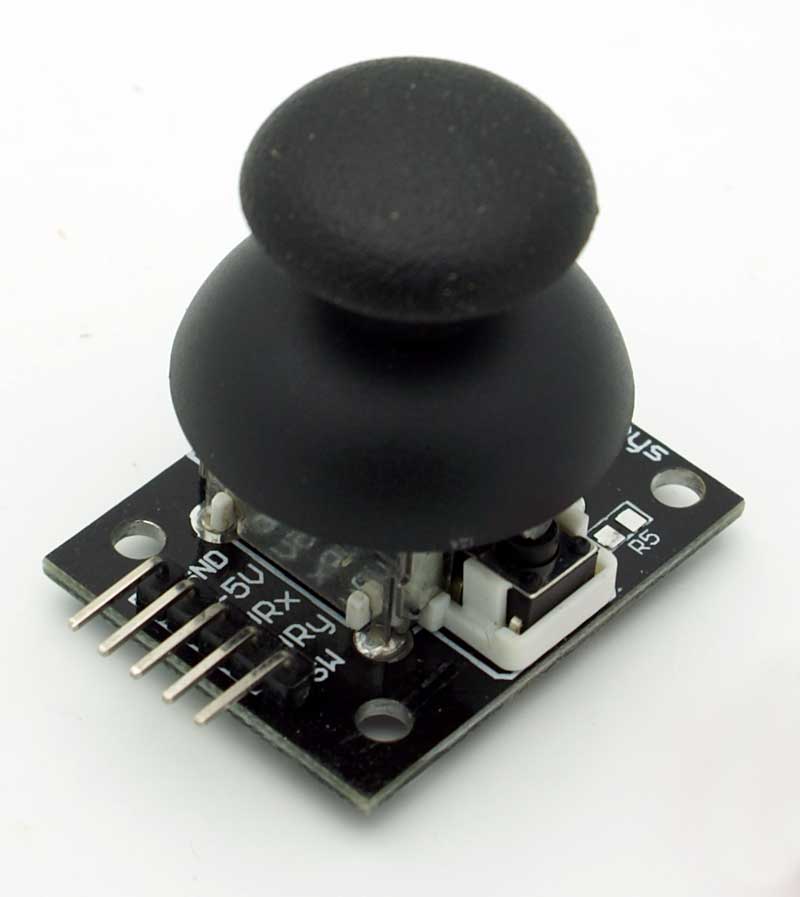
joystick
Here is the pinout and where I connected it
| Pin Number | Label | Signal | Arduino Connection | ||||
| 1 | GND | Ground | |||||
| 2 | +5V | 5V | |||||
| 3 | VRx | Voltage proportional to X position | Connected to analogue pin 0 | ||||
| 4 | VRy | Voltage proportional to Y position | Connected to analogue pin 1 | ||||
| 5 | SW | Joystick pushbutton | Connected to Digital pin 2 |
Code
Nothing fancy in this example, we will simply output the values from the X and Y pins. Typically you would read these values and them perform actions based on the various positions such as left, right and up and down. A later update will show this.
[codesyntax lang=”cpp”]
const int SWITCH = 2;
const int X_PIN = 0;
const int Y_PIN = 1;

void setup()
{
pinMode(SWITCH, INPUT);
digitalWrite(SWITCH, HIGH);
Serial.begin(115200); //watch the baud rate in the serial monitor
}

void loop()
{
Serial.print(digitalRead(SWITCH));
Serial.print(" - ");
Serial.print(analogRead(X_PIN));
Serial.print(" by ");
Serial.println(analogRead(Y_PIN));
delay(100);
}
[/codesyntax]
Links
Arduino joystick at Amazon UK
