Its a fairly simple process to connect your Arduino to your PC and write an appilcation to interact with your hardware. You will need the usual Arduino hardware, IDE and in this case an LED connected to the board.
For the application you will need Visual Studio or Mono. A free version of Visual Studio is available which is suitable for creating the basic Windows form application.
To start in Visual Studio go to File -> New Project. In the new project wizard select the Visual C# -> Windows -> Windows Form Application, you should see something like the following
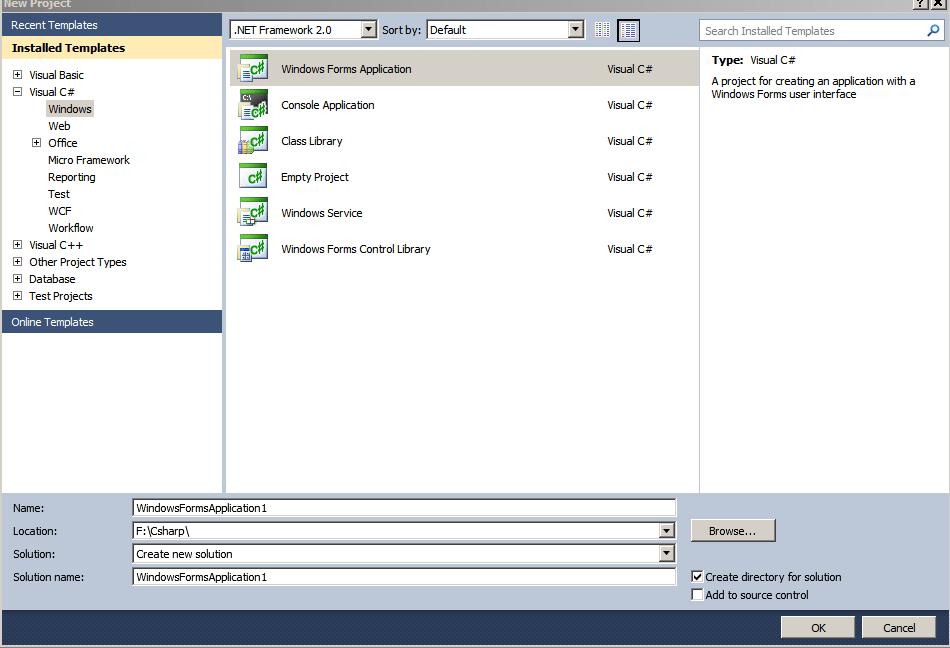
new project wizard
Now create a form like the following form with 2 buttons
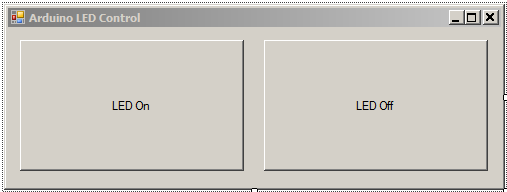
Arduino led control
You will also need to add the SerialPort from the toolbox , you can see this below. Double click on it to add it
serial toolbox
Open the Form1.cs code and enter the following code, this is fairly straightforward we set the baud rate and com port to be used, in this example the com port is hard coded and has too match the com port of the Arduino
[csharp]
public Form1()
{
InitializeComponent();
//the COM port of my Arduino
serialPort1.PortName = “COM7”;
serialPort1.BaudRate = 9600;
}
[/csharp]
We need to do the same with both buttons, double click on a button to enter some code for the button’s click event. This opens the com port, sends some data and then closes the com port again.
[csharp]
private void btnLedOn_Click(object sender, EventArgs e)
{
serialPort1.Open();
serialPort1.Write(“1”);
serialPort1.Close();
}
[/csharp]
Same again for the LED off button
[csharp]
private void btnLedOff_Click(object sender, EventArgs e)
{
serialPort1.Open();
serialPort1.Write(“0”);
serialPort1.Close();
}
[/csharp]
App Code
The complete Visual Studio project will be available underneath but here
[csharp]
using System;
using System.Collections.Generic;
using System.ComponentModel;
using System.Data;
using System.Drawing;
using System.Text;
using System.Windows.Forms;
using System.IO.Ports;
namespace ArduinoLEDcsharp
{
public partial class Form1 : Form
{
public Form1()
{
InitializeComponent();
//the COM port of my Arduino
serialPort1.PortName = “COM7”;
serialPort1.BaudRate = 9600;
}
private void btnLedOn_Click(object sender, EventArgs e)
{
serialPort1.Open();
serialPort1.Write(“1”);
serialPort1.Close();
}
private void btnLedOff_Click(object sender, EventArgs e)
{
serialPort1.Open();
serialPort1.Write(“0”);
serialPort1.Close();
}
}
}
[/csharp]
Arduino Code
Open the Arduino IDE and copy the following code and compile and upload
[c]
#define LEDPin 4
char SerialInput;
void setup()
{
pinMode(LEDPin, OUTPUT);
// serial communication
Serial.begin(9600);
}
void loop()
{
//read from serial port
SerialInput = Serial.read();
//verify incomingOption
switch(SerialInput)
{
case ‘1’:
// Turn ON LED
digitalWrite(LEDPin, HIGH);
break;
case ‘0’:
// Turn OFF LED
digitalWrite(LEDPin, LOW);
break;
}
}
[/c]
Testing
Click on the 2 buttons to see the LED going on and off, I used an external LED on pin 4, you can use the onboard LED if you have one.
Links
Visual Studio 2010 project and Arduino code is located at the following GITHUB link
Free and trial versions of Visual Studio
