In this example we connect a vibration motor module to an Arduino Uno. This is the type of motor that you could find in a mobile phone which vibrates when you receive a text message for example, also commonly used in toys. You could also use this in wearables.
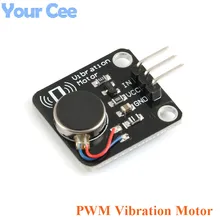
This is the module I bought
When the Logic level is HIGH, the motor is ON. When its LOW, the motor is OFF.
Features:
– Rated voltage: 5.0VDC
– Operating voltage: 3.0 – 5.3VDC
– Rated speed: 9000 rpm minimum
– Rated current: up to 60 mA
– Starting current: up to 90 mA
– Starting voltage: DC3.7V
– Insulation resistance: 10Mohm
Connection
I used an Arduino Uno and connected the In of the motor module to D3 – this was so I could show a standard digital out and also potentially a PWM example
| Arduino Uno | Vibration motor |
| 5v | Vcc |
| Gnd | Gnd |
| D3 | In |
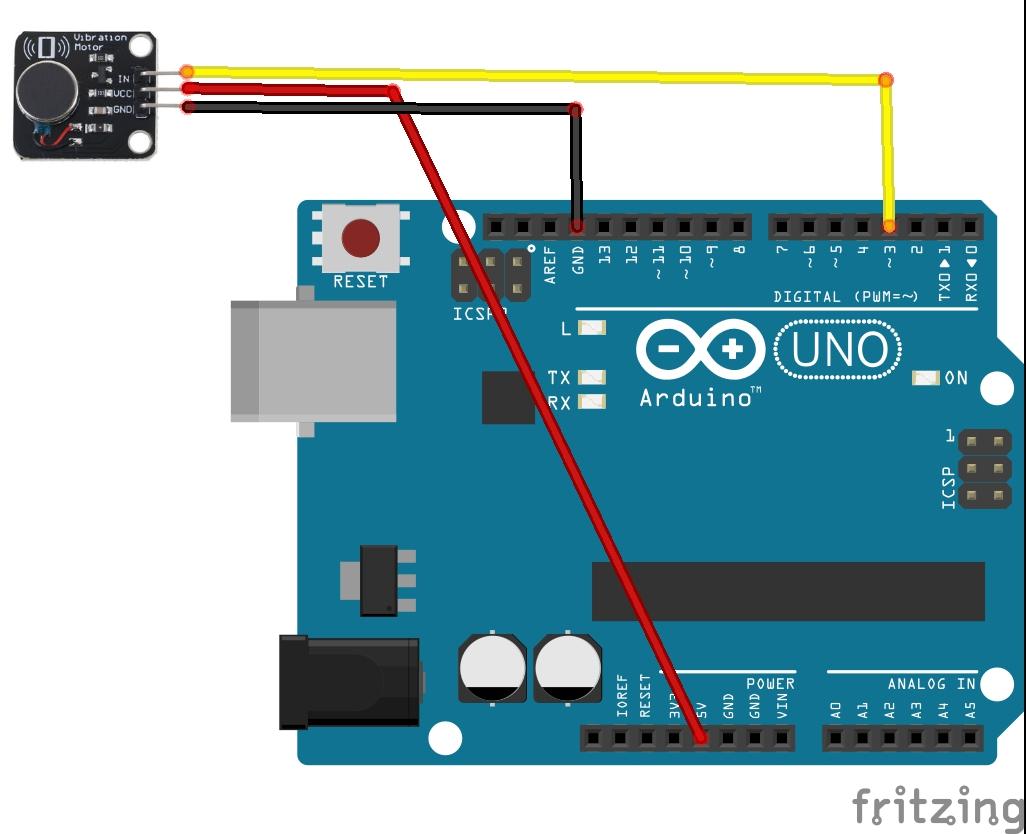
Arduino and vibration motor layout
Parts List
Here are the parts I used
| Name | Link |
| Arduino Uno | UNO R3 CH340G/ATmega328P, compatible for Arduino UNO |
| Vibration Motor Module | PWM Vibration Motor Module DC Motor Phone Vibrator for Arduino UNO R3 MEGA2560 Electronic DIY Kit |
| Connecting wire | Free shipping Dupont line 120pcs 20cm male to male + male to female and female to female jumper wire |
| sensor shield | Expansion IO Board Sensor Shield |
Code
This is a simple example which simply switches the motor on for 1 second and off for 1 second. We use pin 3
[codesyntax lang=”cpp”]
int motorPin = 3;    // vibration motor digital pin 3

void setup()
{
    pinMode(motorPin, OUTPUT );
}

void loop()
{
    digitalWrite(motorPin, HIGH);
    delay(1000);
    digitalWrite(motorPin, LOW);
    delay(1000);
}
[/codesyntax]
This is a PWM example using the same pin, it’s based on the Fading example
[codesyntax lang=”cpp”]
int motorPin = 3; // vibration motor digital pin D3

void setup()
{

}

void loop()
{
  // fade in from min to max in increments of 5 points:
  for (int fadeValue = 0 ; fadeValue <= 255; fadeValue += 5)
  {
    // sets the value (range from 0 to 255):
    analogWrite(motorPin, fadeValue);
    // wait for 30 milliseconds to see the dimming effect
    delay(30);
  }

  // fade out from max to min in increments of 5 points:
  for (int fadeValue = 255 ; fadeValue >= 0; fadeValue -= 5)
  {
    // sets the value (range from 0 to 255):
    analogWrite(motorPin, fadeValue);
    // wait for 30 milliseconds to see the dimming effect
    delay(30);
  }
}
[/codesyntax]
Links
